
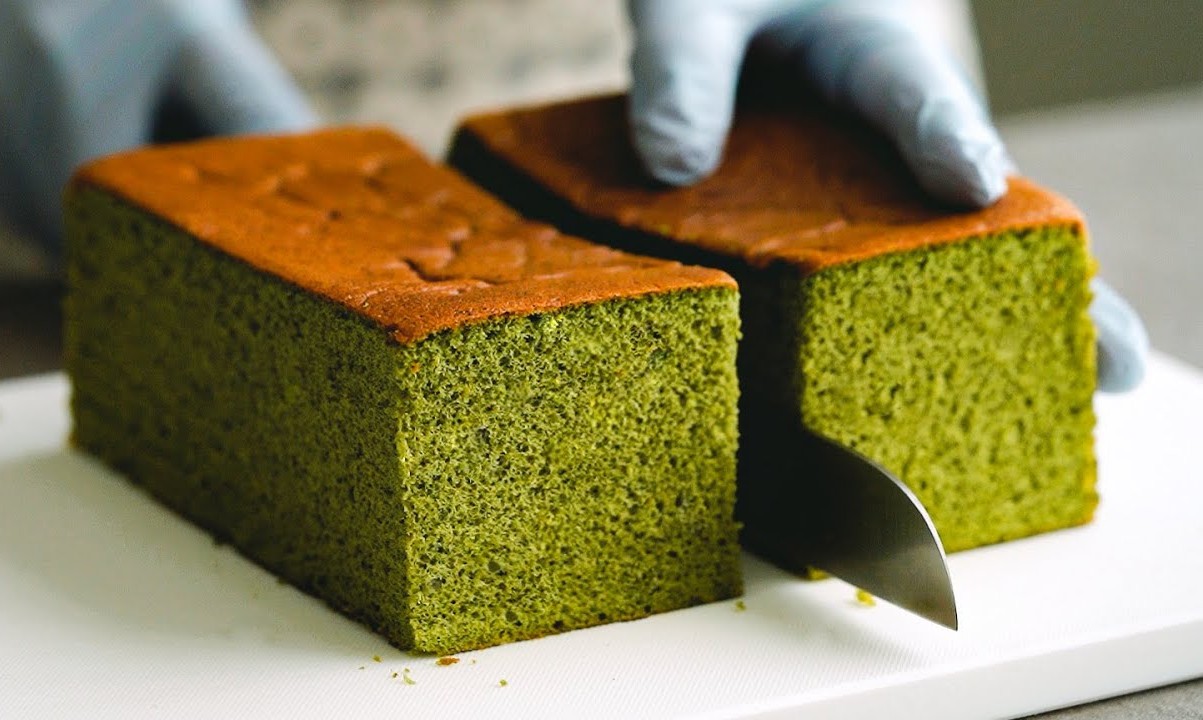
This delightful Japanese tea cake is a perfect blend of simplicity and elegance. It's a light, fluffy cake that pairs wonderfully with a cup of tea, making it an ideal treat for any time of the day. The subtle sweetness and moist texture make it a favorite for both casual and special occasions.
Most of the ingredients for this Japanese tea cake are common pantry staples. However, if you don't usually bake, you might need to pick up baking powder and vanilla extract from the supermarket. These ingredients are essential for giving the cake its rise and flavor.
Ingredients for Japanese Tea Cake
Flour: The base of the cake, providing structure and texture.
Sugar: Adds sweetness and helps with the cake's moisture.
Baking powder: A leavening agent that helps the cake rise.
Salt: Enhances the flavors of the other ingredients.
Milk: Adds moisture and richness to the cake.
Vegetable oil: Keeps the cake moist and tender.
Eggs: Provide structure and help bind the ingredients together.
Vanilla extract: Adds a subtle, sweet flavor to the cake.
Technique Tip for This Recipe
When combining the wet ingredients with the dry ingredients, be careful not to overmix the batter. Overmixing can lead to a dense and tough cake. Mix until the ingredients are just combined to ensure a light and fluffy texture.
Suggested Side Dishes
Alternative Ingredients
all-purpose flour - Substitute with cake flour: Cake flour has a lower protein content, resulting in a lighter and more tender crumb.
all-purpose flour - Substitute with gluten-free flour blend: For those with gluten intolerance, a gluten-free blend can be used to achieve a similar texture.
sugar - Substitute with honey: Honey adds moisture and a unique flavor, but reduce the liquid in the recipe slightly.
sugar - Substitute with coconut sugar: Coconut sugar has a lower glycemic index and adds a caramel-like flavor.
baking powder - Substitute with baking soda and cream of tartar: Use ¼ teaspoon baking soda and ½ teaspoon cream of tartar for each teaspoon of baking powder.
salt - Substitute with sea salt: Sea salt can provide a more complex flavor profile.
milk - Substitute with almond milk: Almond milk is a dairy-free alternative that works well in baking.
milk - Substitute with coconut milk: Coconut milk adds a rich, creamy texture and a hint of coconut flavor.
vegetable oil - Substitute with coconut oil: Coconut oil can add a subtle coconut flavor and is a healthier fat option.
vegetable oil - Substitute with applesauce: Applesauce can reduce the fat content and add moisture to the cake.
eggs - Substitute with flax eggs: Mix 1 tablespoon ground flaxseed with 3 tablespoon water per egg; this is a vegan alternative that helps bind the ingredients.
eggs - Substitute with mashed banana: Mashed banana can add moisture and a slight banana flavor, suitable for a denser cake.
vanilla extract - Substitute with almond extract: Almond extract provides a different but complementary flavor to the cake.
vanilla extract - Substitute with maple syrup: Maple syrup adds a unique sweetness and depth of flavor.
Alternative Recipes Similar to This Cake
How to Store or Freeze This Cake
Allow the cake to cool completely on a wire rack before storing. This helps prevent condensation, which can make the cake soggy.
Wrap the cake tightly in plastic wrap. Ensure there are no gaps or air pockets to keep the cake fresh and moist.
Place the wrapped cake in an airtight container. This adds an extra layer of protection against air and moisture.
Store the cake at room temperature for up to 3 days. Keep it in a cool, dry place away from direct sunlight and heat sources.
For longer storage, freeze the cake. First, wrap it in plastic wrap, then in aluminum foil to prevent freezer burn.
Label the cake with the date before placing it in the freezer. This helps you keep track of how long it has been stored.
Freeze the cake for up to 3 months. When you're ready to enjoy it, thaw it in the refrigerator overnight.
To refresh the cake after thawing, you can warm it in a preheated oven at 300°F (150°C) for about 10 minutes. This will help restore its original texture and flavor.
If you prefer individual servings, slice the cake before freezing. Wrap each slice in plastic wrap and store them in a single layer in an airtight container. This way, you can easily grab a piece whenever you crave a sweet treat.
Avoid refrigerating the cake if you plan to consume it within a few days. Refrigeration can dry out the cake and alter its texture.
How to Reheat Leftovers
Preheat your oven to 300°F (150°C). Wrap the Japanese tea cake in aluminum foil to prevent it from drying out. Place it on a baking sheet and heat for about 10-15 minutes, or until warmed through.
For a quicker method, use a microwave. Place a slice of Japanese tea cake on a microwave-safe plate. Cover it with a damp paper towel to retain moisture. Microwave on medium power for 20-30 seconds. Check if it's warm enough; if not, continue in 10-second intervals.
If you prefer a slightly crispy exterior, use a toaster oven. Set it to a low heat setting, around 300°F (150°C). Place the Japanese tea cake directly on the rack or on a baking sheet. Heat for 5-7 minutes, keeping an eye on it to avoid over-toasting.
For a more indulgent option, reheat the Japanese tea cake in a skillet. Melt a small amount of butter in the skillet over medium-low heat. Place the cake slice in the skillet and heat for 2-3 minutes on each side, until warmed through and slightly crispy on the edges.
If you have a steamer, this method will keep the Japanese tea cake moist. Place the cake on a heatproof plate and set it in the steamer basket. Steam for about 5 minutes, or until the cake is warmed through.
Essential Tools for Making This Cake
Oven: Preheat to 350°F (175°C) to bake the cake.
Mixing bowl: Use one for the dry ingredients and another for the wet ingredients.
Whisk: Combine the dry ingredients thoroughly.
Measuring cups: Measure out the flour, sugar, milk, and vegetable oil accurately.
Measuring spoons: Measure the baking powder, salt, and vanilla extract precisely.
Cake pan: Pour the batter into this greased pan for baking.
Toothpick: Check the cake's doneness by inserting it into the center.
Wire rack: Cool the cake completely after it has been baked.
Spatula: Transfer the batter into the cake pan and smooth the top.
Cooling rack: Let the cake cool in the pan for 10 minutes before transferring it to this rack.
How to Save Time on This Recipe
Pre-measure ingredients: Measure out all ingredients before you start. This will save time and ensure you have everything ready.
Use a stand mixer: A stand mixer can quickly and efficiently combine your wet and dry ingredients.
Room temperature ingredients: Ensure your eggs and milk are at room temperature for easier mixing and a smoother batter.
Grease the pan ahead: Grease your cake pan before you start mixing to save time later.
Clean as you go: Cleaning up while the cake bakes will save you time and effort after.
Japanese Tea Cake
Ingredients
Main Ingredients
- 2 cups All-purpose flour
- 1 cup Sugar
- 1 teaspoon Baking powder
- ½ teaspoon Salt
- 1 cup Milk
- ½ cup Vegetable oil
- 2 Eggs large
- 1 teaspoon Vanilla extract
Instructions
- Preheat your oven to 350°F (175°C).
- In a mixing bowl, whisk together the flour, sugar, baking powder, and salt.
- In another bowl, combine the milk, vegetable oil, eggs, and vanilla extract.
- Gradually add the wet ingredients to the dry ingredients, mixing until just combined.
- Pour the batter into a greased cake pan.
- Bake for 40 minutes or until a toothpick inserted into the center comes out clean.
- Let the cake cool in the pan for 10 minutes, then transfer to a wire rack to cool completely.
Nutritional Value
Keywords
Suggested Appetizers and Main Courses
More Amazing Recipes to Try 🙂
- Japanese Beef Udon Recipe35 Minutes
- Tempura Sauce (Tentsuyu) Recipe10 Minutes
- Japanese Chocolate Cake Recipe50 Minutes
- Japanese Sweet Potato Recipe50 Minutes
- Japanese Red Rice (Sekihan) Recipe50 Minutes
- Japanese Ginger Chicken Recipe35 Minutes
- Japanese Persimmon Recipe10 Minutes
- Japanese Carrot Recipe30 Minutes
Leave a Reply