
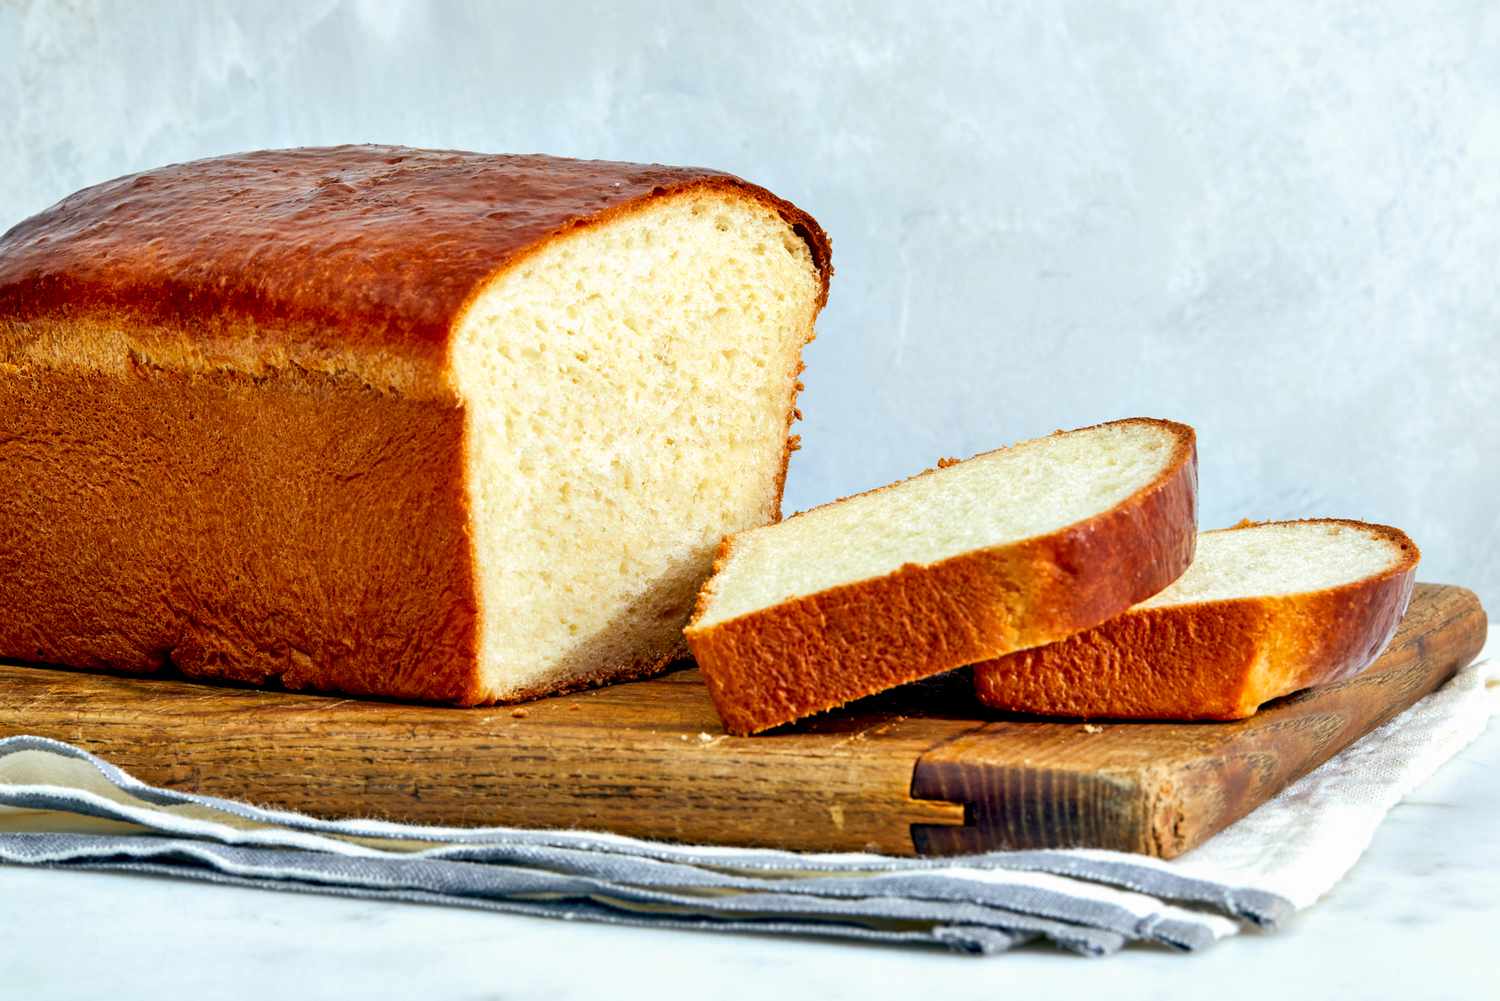
Experience the delight of making Japanese bread at home with this simple and delicious recipe. This bread is known for its soft, fluffy texture and slightly sweet flavor, making it perfect for sandwiches or enjoying on its own. Follow these steps to create a loaf that will impress your family and friends.
While most of the ingredients for this Japanese bread recipe are common pantry staples, you might need to ensure you have active dry yeast on hand. This ingredient is crucial for the bread's rise and texture. If you don't already have it, you can find active dry yeast in the baking aisle of most supermarkets.
Ingredients for Japanese Bread Recipe
All-purpose flour: The base of the bread, providing structure and texture.
Warm milk: Activates the yeast and adds moisture to the dough.
Sugar: Feeds the yeast and adds a touch of sweetness.
Active dry yeast: Leavens the bread, making it rise and become fluffy.
Salt: Enhances the flavor of the bread.
Softened butter: Adds richness and tenderness to the bread.
Technique Tip for This Bread
When kneading the dough, use the heel of your hand to push it away from you, then fold it back over itself and give it a quarter turn. This technique helps develop the gluten structure, making the bread light and airy. If the dough is too sticky, sprinkle a little flour on your work surface, but be careful not to add too much, as it can make the bread dense.
Suggested Side Dishes
Alternative Ingredients
all-purpose flour - Substitute with bread flour: Bread flour has a higher protein content, which can give the bread a chewier texture and better structure.
all-purpose flour - Substitute with whole wheat flour: Whole wheat flour adds a nutty flavor and more nutrients, though it may make the bread denser.
warm milk - Substitute with warm water: Warm water can activate the yeast similarly, though it won't add the richness that milk provides.
warm milk - Substitute with plant-based milk: Almond milk, soy milk, or oat milk can be used for a dairy-free option, adding similar moisture and slight flavor variations.
sugar - Substitute with honey: Honey can add a different sweetness and a slight floral note, though it may make the dough a bit stickier.
sugar - Substitute with maple syrup: Maple syrup provides a unique flavor and sweetness, but adjust the liquid content slightly as it is more liquid than sugar.
active dry yeast - Substitute with instant yeast: Instant yeast can be used directly without proofing and works faster than active dry yeast.
active dry yeast - Substitute with fresh yeast: Fresh yeast can be used, but you will need to use more of it (about double the amount) and dissolve it in liquid first.
salt - Substitute with sea salt: Sea salt can be used for a slightly different mineral content and flavor profile.
salt - Substitute with kosher salt: Kosher salt has larger crystals and a purer taste, but you may need to adjust the quantity slightly.
softened butter - Substitute with margarine: Margarine can be used for a dairy-free option, providing similar texture and moisture.
softened butter - Substitute with coconut oil: Coconut oil can add a slight coconut flavor and is a good dairy-free alternative, though it may change the texture slightly.
Alternative Recipes Similar to This Bread
How to Store or Freeze This Bread
- Allow the bread to cool completely at room temperature. This prevents condensation from forming inside the storage container, which can make the bread soggy.
- Wrap the cooled bread tightly in plastic wrap or aluminum foil. Ensure there are no gaps to keep the bread fresh.
- For added protection, place the wrapped bread in a resealable plastic bag or an airtight container. This helps to maintain its softness and flavor.
- Store the bread at room temperature for up to 3 days. Keep it in a cool, dry place away from direct sunlight and heat sources.
- If you need to keep the bread for a longer period, consider freezing it. Slice the bread before freezing to make it easier to thaw only the amount you need.
- To freeze, wrap each slice or the whole loaf in plastic wrap, then place it in a resealable freezer bag. Squeeze out as much air as possible before sealing.
- Label the freezer bag with the date to keep track of its freshness. The bread can be frozen for up to 3 months.
- When ready to use, thaw the bread at room temperature. For a quicker option, you can use a microwave or toaster oven. If using a microwave, wrap the bread in a damp paper towel to prevent it from drying out.
- For a freshly baked taste, reheat the thawed bread in a preheated oven at 350°F (175°C) for about 10 minutes. This will revive its soft texture and delightful aroma.
How to Reheat Leftovers
Preheat your oven to 350°F (175°C). Wrap the Japanese bread in aluminum foil to prevent it from drying out. Place it on a baking tray and heat for about 10-15 minutes until warm and soft.
For a quick method, use a microwave. Place a damp paper towel over the bread and microwave on medium power for 20-30 seconds. This will help retain moisture and keep the bread soft.
If you have a toaster oven, set it to 350°F (175°C). Place the bread directly on the rack or on a baking tray. Heat for 5-10 minutes until the crust is crispy and the inside is warm.
For a stovetop method, heat a non-stick skillet over medium-low heat. Place the bread in the skillet and cover with a lid. Heat for about 2-3 minutes on each side until warmed through.
If you prefer a steam method, bring a pot of water to a boil and place a steamer basket over it. Wrap the bread in a clean kitchen towel and place it in the steamer basket. Cover and steam for about 5 minutes until the bread is soft and warm.
Essential Tools for Making This Bread
Mixing bowl: A large bowl used to combine the ingredients together.
Measuring cups: Used to measure out the flour, milk, and sugar accurately.
Measuring spoons: Used to measure out the yeast, salt, and butter.
Wooden spoon: Useful for mixing the ingredients until a dough forms.
Stand mixer: Optional, but can be used with a dough hook attachment to knead the dough.
Clean surface: A flat, clean area for kneading the dough by hand if not using a stand mixer.
Greased bowl: Used to let the dough rise without sticking.
Plastic wrap: To cover the bowl while the dough is rising.
Baking tray: To place the shaped dough on for baking.
Oven: Preheated to the correct temperature for baking the bread.
Cooling rack: To let the bread cool down after baking.
How to Save Time on Making This Bread
Warm ingredients: Use warm milk and softened butter to help the yeast activate faster and the dough rise quicker.
Pre-measure ingredients: Measure out all ingredients before starting to streamline the process.
Use a stand mixer: A stand mixer can knead the dough more efficiently, saving you time and effort.
Proof in a warm place: Let the dough rise in a warm, draft-free area to speed up the rising process.
Preheat the oven early: Start preheating the oven while the dough is rising to save time.
Japanese Bread Recipe
Ingredients
Main Ingredients
- 3 cups All-purpose flour
- 1 cup Milk Warm
- 2 tablespoon Sugar
- 2 teaspoon Yeast Active dry
- 1 teaspoon Salt
- 2 tablespoon Butter Softened
Instructions
- 1. In a mixing bowl, combine warm milk, sugar, and yeast. Let it sit for 5 minutes until frothy.
- 2. Add flour, salt, and butter to the bowl. Mix until a dough forms.
- 3. Knead the dough for about 10 minutes until smooth and elastic.
- 4. Place the dough in a greased bowl, cover, and let it rise for 1 hour or until doubled in size.
- 5. Preheat the oven to 350°F (175°C).
- 6. Punch down the dough, shape it into a loaf, and place it on a baking tray.
- 7. Bake for 30 minutes or until golden brown.
- 8. Let the bread cool before slicing. Enjoy!
Nutritional Value
Keywords
Suggested Appetizers and Desserts
More Amazing Recipes to Try 🙂
- Japanese Sesame Paste (Nerigoma) Recipe15 Minutes
- Takoyaki (Japanese Octopus Ball) Recipe30 Minutes
- Japanese Chicken Stew Recipe1 Hours
- Japanese Baked Fish Recipe30 Minutes
- Japanese Dry Curry Recipe45 Minutes
- Teppanyaki Recipe35 Minutes
- Japanese Soybean Powder (Kinako) Recipe25 Minutes
- Japanese Kimbap Recipe35 Minutes
Leave a Reply